Contributing to the wiki
This guide helps those who wish to contribute to the wiki
INFO
This part requires knowledge of Markdown and some Typescript. If you want some base on how to work with Markdown, visit this page
Requirements
In this guide, the following software will be used and is recommended for those who want to help updating the wiki
Software
- Git for Windows (for Windows users)
- For Linux users, use the
gitpackage
- For Linux users, use the
- Visual Studio Code
- NodeJS (and NPM)
Mandatory accounts
Preparing your workspace
Like any other coding project, you must setup your workspace to be able to contribute, this part of the guide teaches you how to do so with the steps below
Pre-coding steps
- Login or Sign up on github
- Head to the wiki repository
- Press the
Forkbutton, this will create a repository in your account where you can make changes
Getting the repo on your computer
- Open a terminal on your computer
- Make sure you have git installed on your computer
- Inside of github, on your fork, press the
Codebutton and copy the URL as shown below
- Inside the terminal type
$ git clone https://github.com/YOUR_NAME/YOUR_REPO.git- Your fork should have downloaded to where you typed the command
Opening the repository in Visual Studio Code
- Inside Visual Studio Code, press File > Open Folder...
- Select the folder with the wiki and press Select Folder
- You should be able to see the Wiki files on the Explorer
Installing required packages for the Wiki
- In Visual Studio Code, you can access the Terminal by pressing Terminal > New Terminal
- Inside the terminal type the following command
$ npm install vitepress- Once installed, make the changes you want to make
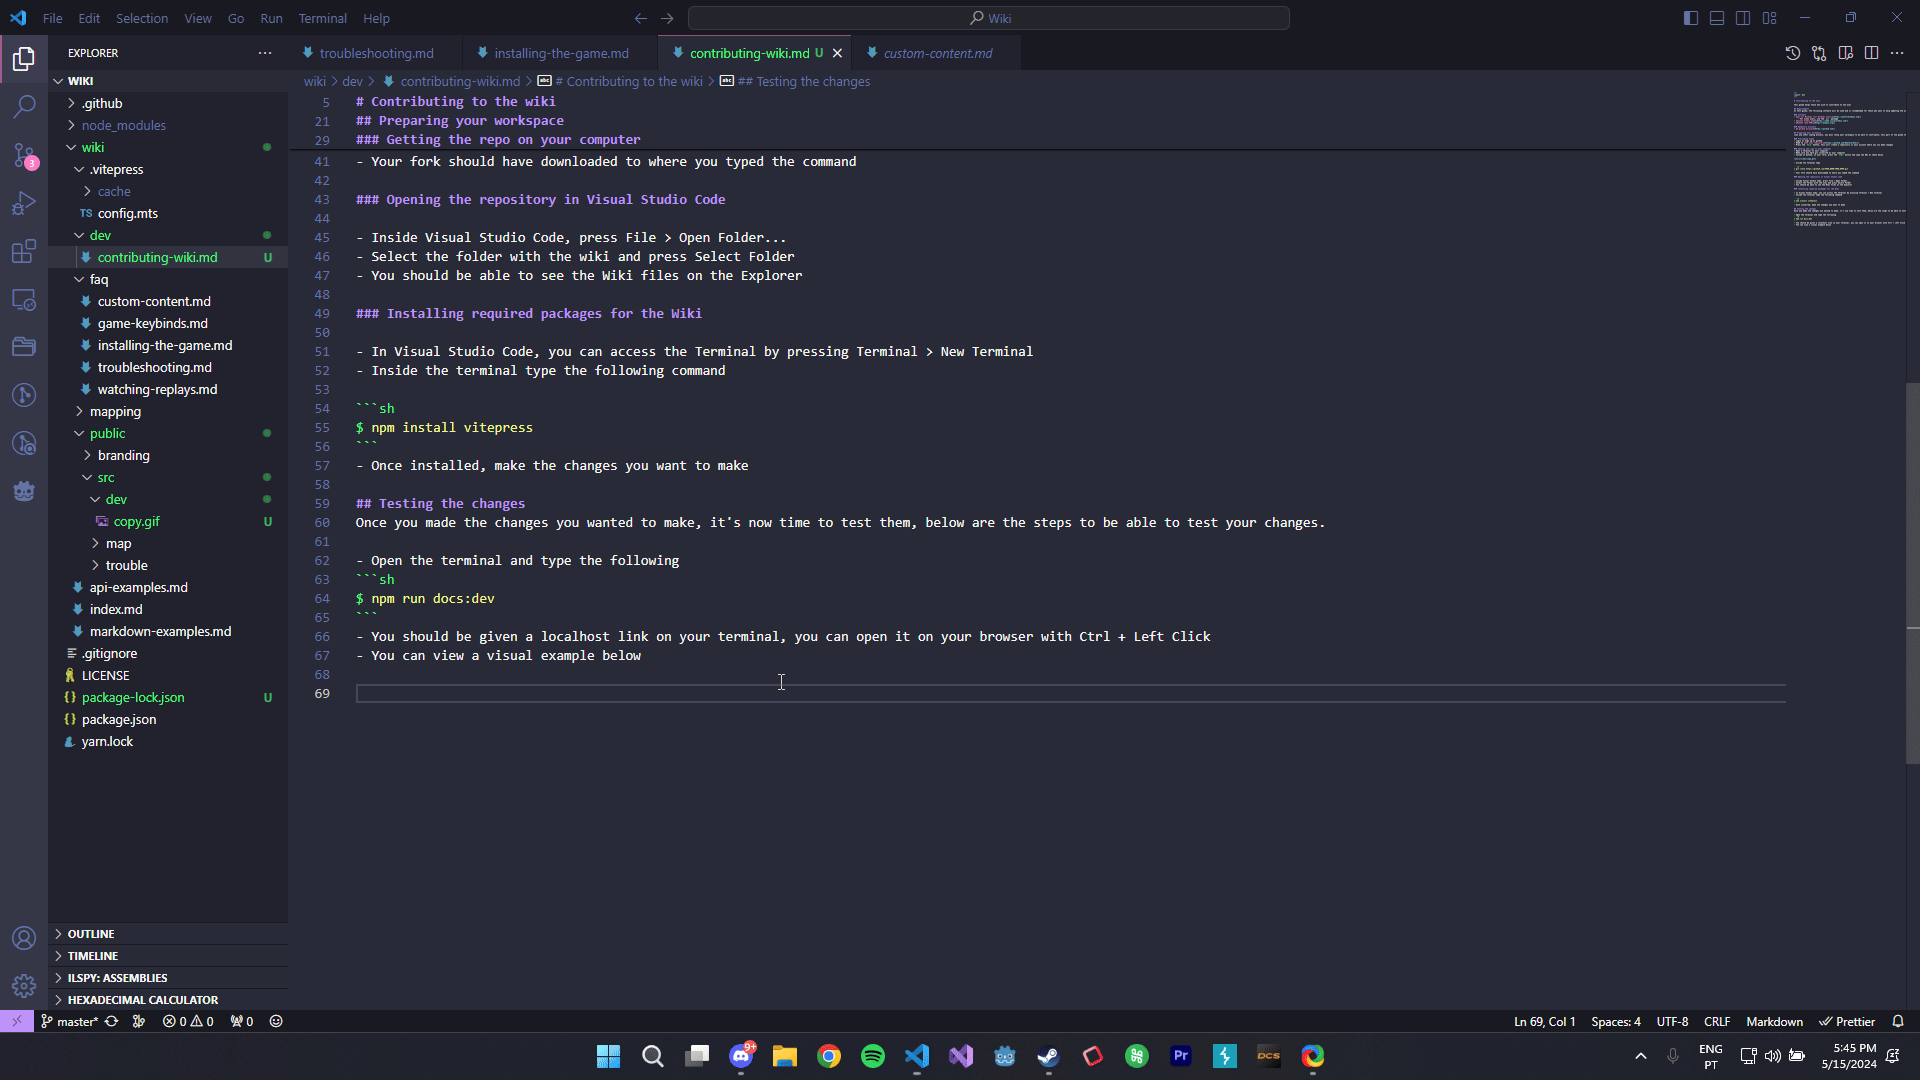
Testing the changes
Once you made the changes you wanted to make, it's now time to test them, below are the steps to be able to test your changes.
- Open the terminal and type the following
$ npm run docs:dev- You should be given a localhost link on your terminal, you can open it on your browser with Ctrl + Left Click
- You can view a visual example below
- To see the changes, if it's in a new page, follow the directory of where your page is located, for example, this page should be in
http://localhost:5173/dev/contributing-wikibut on the explorer tab it's in/dev/contributing-wiki.md
Adding new pages to the Wiki's sidebar
TIP
For guides to how you can format the page, visit the examples page (make sure you ran the command found in Testing the changes)
As you may have guessed, adding pages won't add them automatically to the sidebar, as you must code them yourself.
WARNING
This requires some knowledge of Typescript, but we'll try to simplify it below
- Head to /.vitepress/config.mts
- Scroll down to the sidebar section (line 82)
- Refer to the image below for some explanation of the code
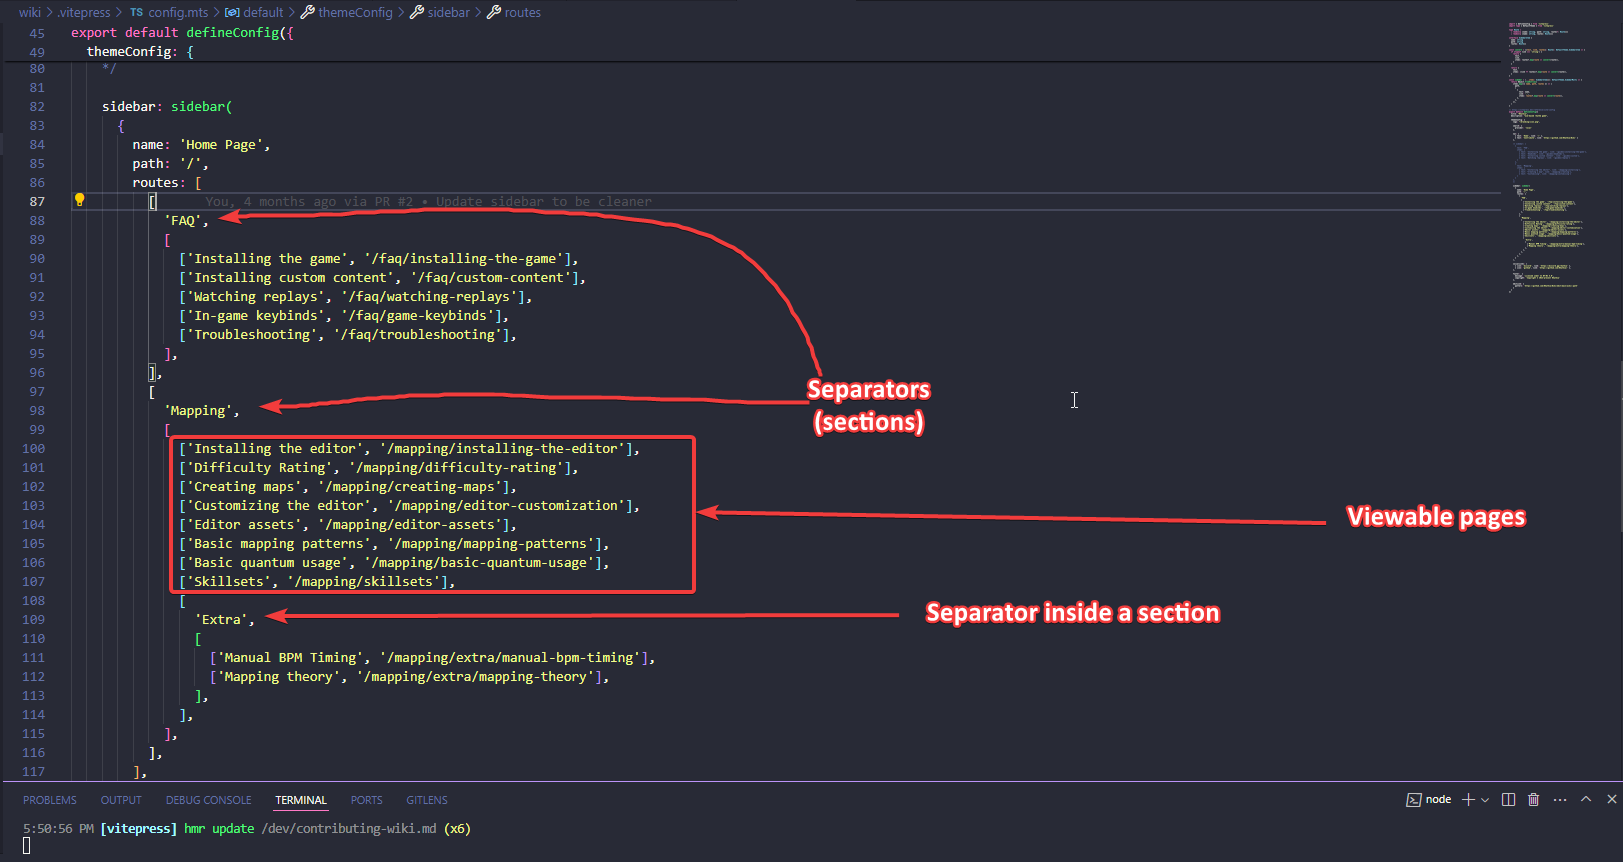
- Adding a page requires adding them inside an existing section, or adding them to a new section
- Below is a gif of how this page is added to a new section named
Contributing
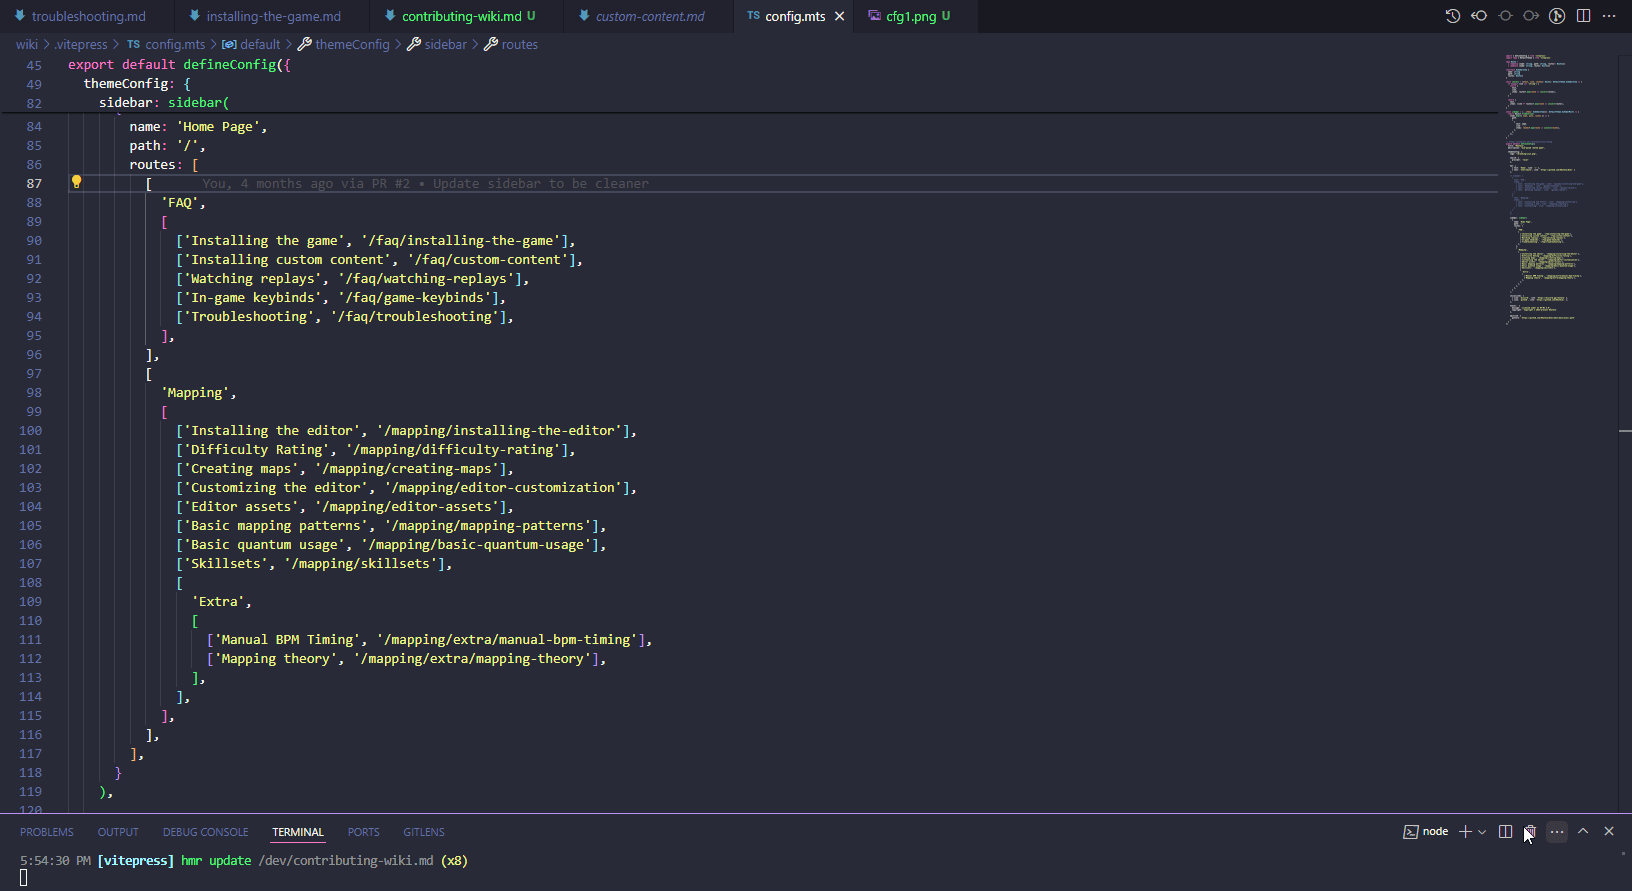
- Better explaining this part, this page is inside the
devfolder, so, we add/dev/page-nameto point to it
TIP
You do not have to end the .md part of a file inside config.mts, as vitepress can handle the file name without it
Requesting your changes to be added into the Wiki
This is the easiest part
- Firstly you have to add your changes to your repository, you can do so by doing
On newly created files
$ git add ./WikiAdding the changes to your repository
$ git commit -m "Your message" ./wiki
$ git push
INFO
You might be prompted to login to your github account, follow the steps on your terminal to do so
- Once the changes are in your repository, head to your forked repository
- Inside you should have a message such as
This branch is 1 commit ahead of Rhythia/Wiki:master. - Press the
Contributebutton and click onOpen pull request - You'll be prompted to see the changes made compared to the current ones in the main Wiki repository
- Once done viewing the changes, press
Create pull request - Add a title, a description and press
Create pull request. Wait for maintainers to review your code and for their feedback.
And you're done! You officially helped in making the Wiki!